Happy Maple Syrup Day!
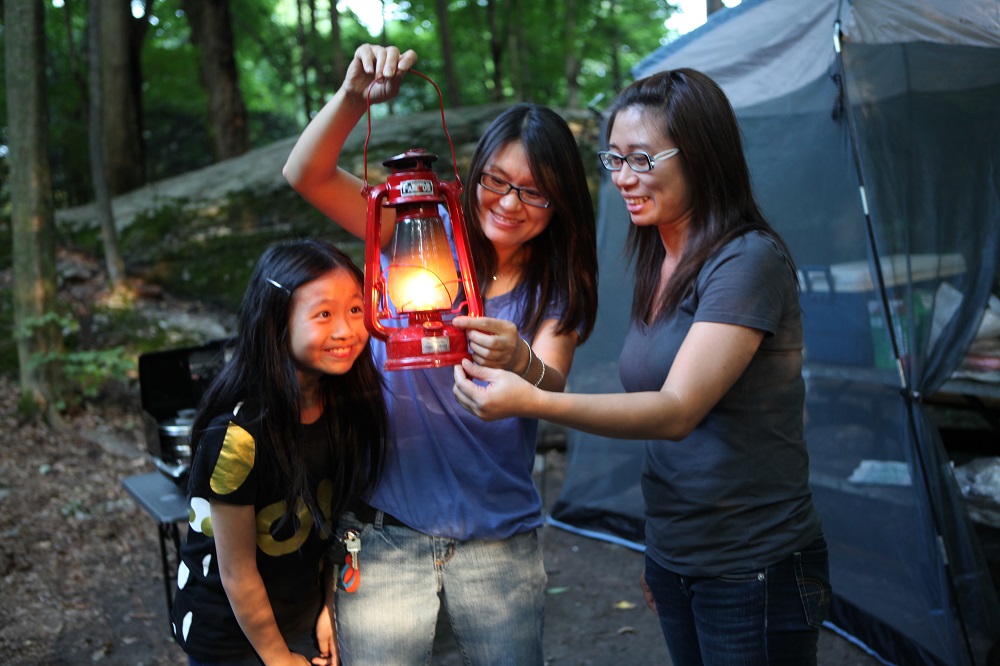
In a few months, spring will stir the air at Bronte Creek.
The woods awaken with the lilting chorus of returning songbirds. Laughter dances along the trails, as visitors wander beneath budding branches, drawn by the promise of warmth and wonder. And from the sugar maples, a gentle rhythm begins to plink… plink… plink… as sweet sap drips into waiting buckets, a quiet hymn to the season’s renewal.
When you visit the Bronte Creek Provincial Park Maple Syrup Festival this March, you will experience the full history and process of making Canada’s favourite sweet syrup. But with a few simple steps and tools, you can bring that history home with you. Give it a try!
**Please do not tap trees within provincial parks. Removing any natural object from a park is prohibited, and you could face a fine.**
Here’s how to make your own delicious maple syrup:
Step #1
This might seem obvious, but it’s the most important step: find a maple tree!
Not just any maple tree will do. While you can make syrups from many types of trees, you need a Sugar Maple (Acer Saccharum) to make the maple syrup everyone knows and loves.
Take a close look at the leaves, seeds, and bark to identify the tree. And, of course, make sure you have permission to tap the tree if it’s not on your property.
Step #2
Just like humans need to be a certain age to give blood, maple trees need to be mature before you can remove sap without harming the tree.
Measure the width of the tree at chest height (1.2 m). A tree must be at least 25.4 cm in diameter for you to put one tap in it. If the diameter of the maple tree is greater than 45 cm, you can place two taps, and if it is 60 cm or more, the tree can have three taps (but never any more than that, no matter how big the tree gets!).
Step #3
Keep a close eye on the weather.
The sap will begin to flow on days when the temperatures are between 0 and +10 degrees Celsius and the nights dip below freezing. These conditions can happen for a few days in January, but you will want to wait for stretches of consistent weather conditions.
The maple syrup season ends when the buds on the twigs begin to open. After that the sap tastes different and any syrup produced leaves a bitter aftertaste.
Step #4
Assemble your maple tool kit!
You will need a 7.94 mm (5/16 in) drill bit, a wireless drill, a maple spile, a hammer, and a sap bucket.
Step #5
Using your wireless drill with the drill bit on a slight angle, create a hole with a downward slant. Drill a hole at about waist height and no more than 8 cm deep. The length of your pinky finger is perfect.
The downward slanted hole will allow gravity to help the sap flow down the spile.
Clear away any sawdust.
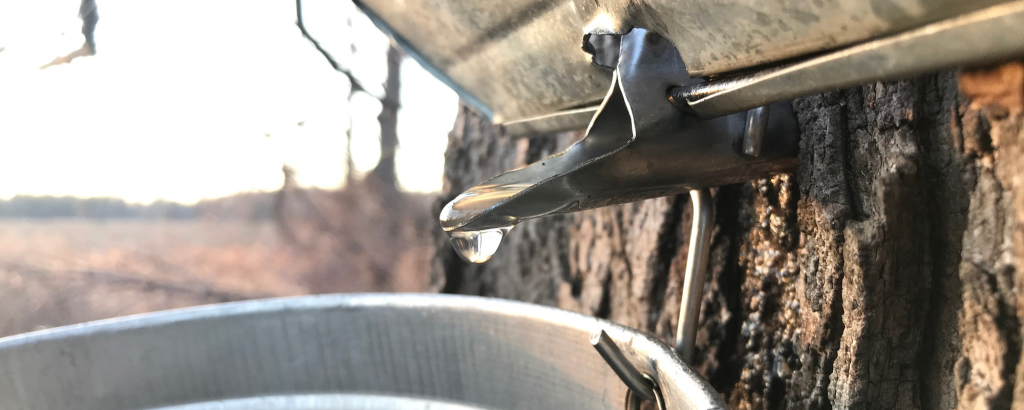
Step #6
Insert the spile and tap it gently for a snug fit.
Don’t pound it in – you need to be able to remove the spile when the season is over so the tree can seal the hole.
Step #7
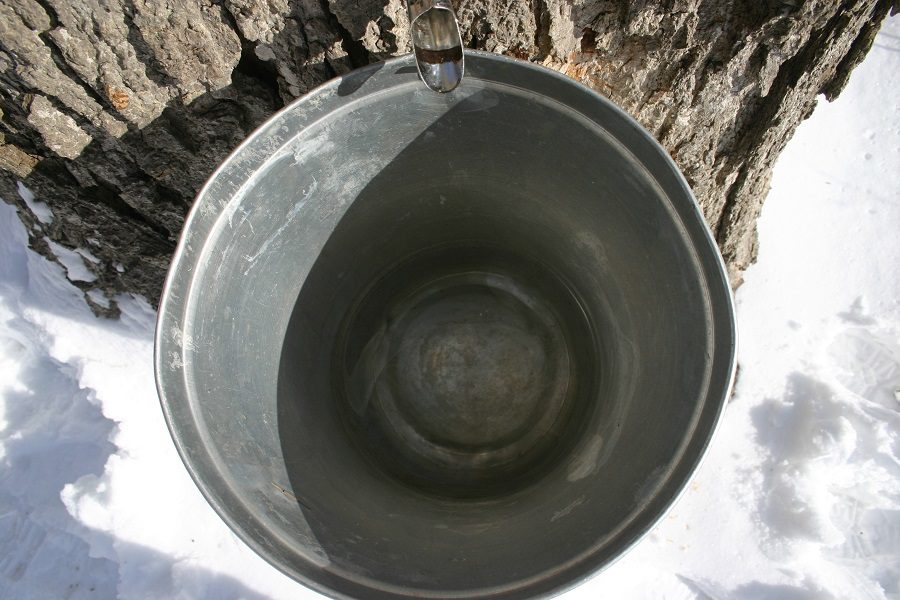
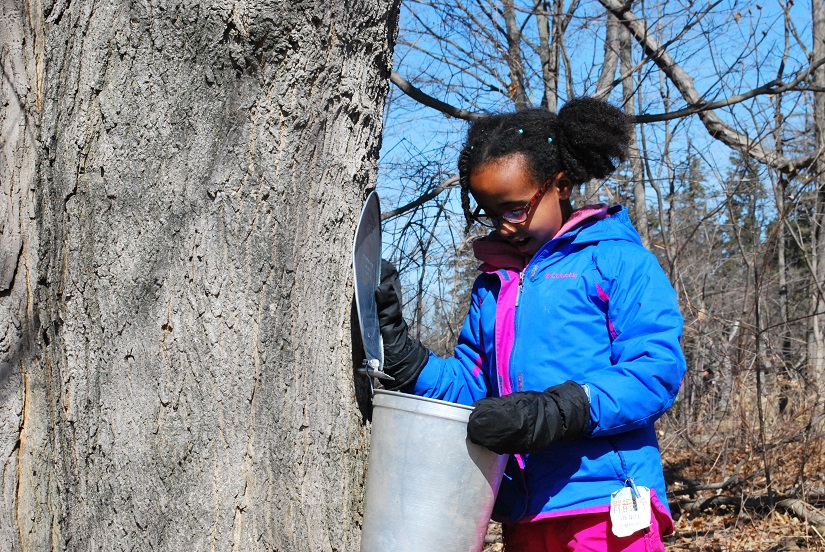
Hang the sap bucket on the hook attached to the spile and let nature work its magic!
Step #8
Check your bucket every day; sap left in the bucket for multiple warm days can spoil.
Store your sap in a refrigerator until you’re ready to boil it down to syrup.
Since sap has a relatively low concentration of sugar (at least compared to syrup!), you will need to collect quite a bit of sap: 40 L of sap will boil down to roughly 1 L of syrup.
Remember to remove the spile with the back of your hammer once you are done collecting sap for the season.
Step #9
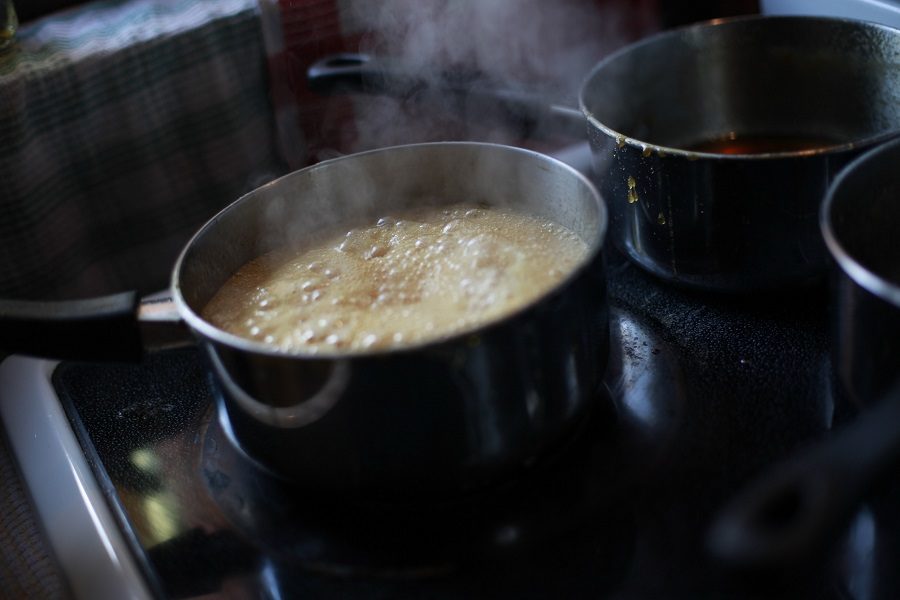
Place the sap in a roasting pan and bring it to a rolling boil. We highly recommend using a barbecue for the initial boiling off. Remember to keep the lid open a crack as you want the vapour to evaporate.
As the sap gets thicker, the colour will get darker and the bubbles will get smaller. Be close by as you do not want the pan to boil over!
Transfer the sap to a pot for indoor finishing under a vented stove hood.
Use a candy thermometer; when it reaches 103.8 degrees Celsius, it is ready to be filtered.
Use a folded-over cheese cloth (about 6 layers thick) to remove any natural sediments.
Step #10
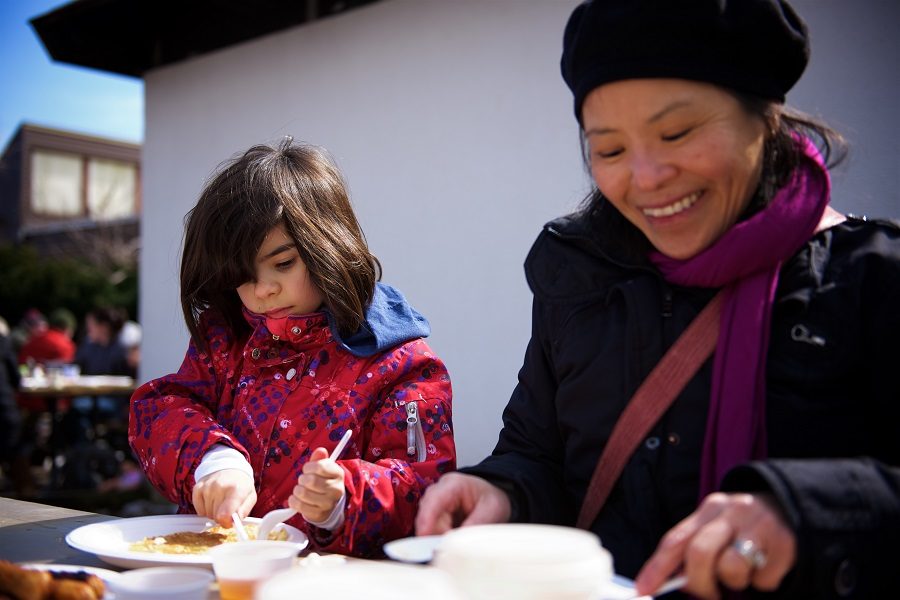
Ready to serve and savour! Pour your hard-earned syrup onto pancakes and enjoy!
Pour the hot syrup into sterilized glass jars to store it for up to 2 years (but we don’t think it will last that long!).
Join us at the park
The Maple Syrup Festival at Bronte Creek Provincial Park is offered annually each March. Please join us each weekend in March and the full week of March Break.
We’ll see you there!